The 3-Second Mistake That Drags Divers to the Surface
2 พฤษภาคม 2569
A slack loop catches your valve post. The SMB rockets up. You follow — unless you know the drill that stops it cold.
A slack loop catches a valve post. The DSMB fires toward daylight. The reel jams. In one incident from the Divers Alert Network case files, the computer logged an ascent rate of 72 metres per minute—seven metres of uncontrolled vertical travel before the diver managed to disconnect. Three seconds separated a routine safety send from a potential trip to the hyperbaric chamber.
Most divers practise deployment once during their Advanced course, check a mental box, and never drill it again. The line sits coiled in a pocket for fifty dives. Then a current kicks up at 18 metres, the spool jams, and muscle memory is nowhere to be found. This is not an edge case. It is the default outcome for anyone who treats DSMB deployment as a one-time skill rather than a maintained habit.
Why SMB Lines Tangle
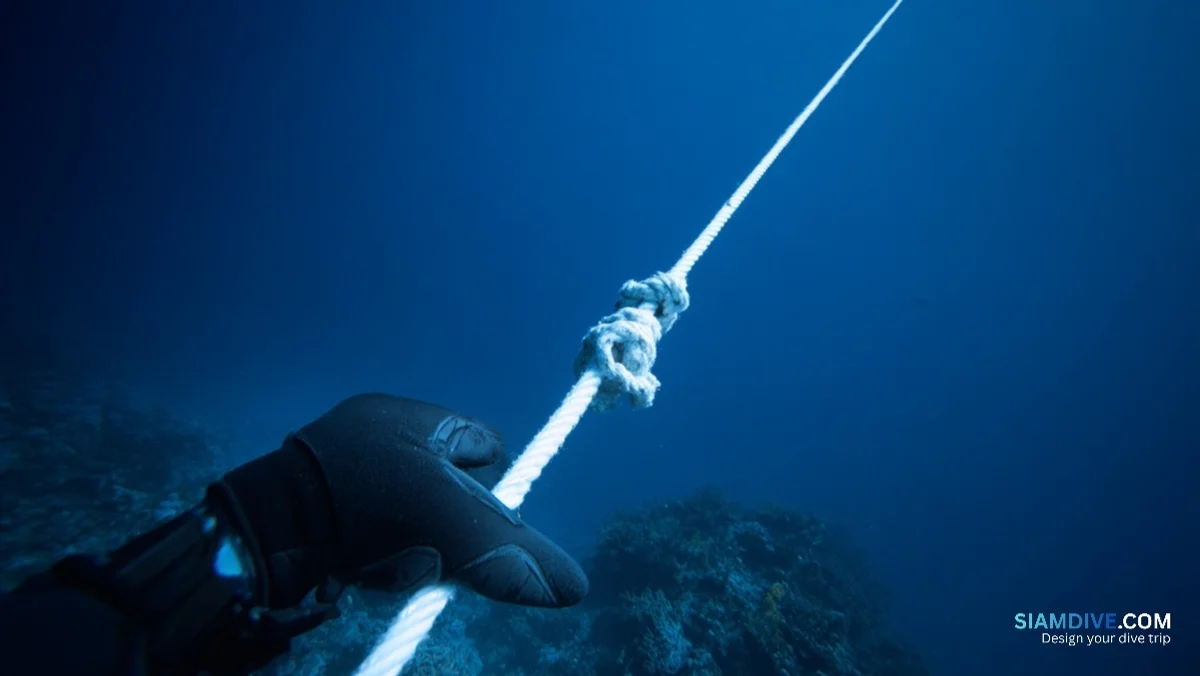
The mechanics are simple and unforgiving. A surface marker buoy generates roughly 5–8 kg of lift once inflated. That force pulls the line upward at speed. Any slack loop between the spool and the buoy can lasso the nearest protrusion—valve post, light lanyard, stage clip, fin strap buckle, or even a buddy's equipment.
Three conditions stack the odds against you:
- Current or surge — pushes the free line sideways while you focus on inflation, creating bights you cannot see behind your shoulder
- Poor trim — a head-up angle lets loops drift toward your tank manifold and first-stage ports
- Stiff or coiled line — nylon that has sat wound on a spool for months retains memory coils that spring outward the moment tension releases
The tangle itself rarely happens during ascent. It happens in the two seconds between inflation and release—the window when line is slack, the buoy is still gaining buoyancy, and the diver's attention splits between the SMB mouth and the reg supplying air.
Spool or Reel — Which Jams Less?
The debate is older than nitrox certification, but the engineering differences matter here specifically for entanglement risk.
- Finger spool (15–25 m line) — no ratchet, no handle, no moving axis. Line feeds directly off the drum by thumb tension alone. Fewer mechanical catch points, lighter, fits a thigh pocket. The trade-off: no tension brake means a fumbled release can free-spool the entire length in one burst.
- Reel (30–50+ m line) — handle and ratchet provide controlled payout. Spring-loaded tension prevents free-spool. The trade-off: the handle itself is a catch point for bights, and a jammed ratchet under load means you cannot release line at all—exactly the scenario that creates a lift-off.
- Finger spool — entanglement profile
- 15–25 m line capacity. Zero mechanical failure points. Thumb = only brake. Tangle risk: low during send, moderate if fumbled (free-spool dumps all line at once). Weight: 80–150 g. Cost: 400–900 THB.
- Reel — entanglement profile
- 30–50+ m capacity. Ratchet + handle = two catch points. Tension spring prevents free-spool but creates jam risk under load. Tangle risk: moderate during send (handle snags bights), high if ratchet jams (line cannot release). Weight: 200–400 g. Cost: 1,200–3,500 THB.
For recreational depths to 30 metres with no decompression obligation, a finger spool wins on simplicity. The fewer moving parts between you and a clean send, the fewer failure modes exist. For technical profiles deeper than 30 metres—where the DSMB must travel a longer water column and gas expansion multiplies lift—a reel with tension control is the safer bet, provided you service it between trips.
The 30-Second Setup Before Every Send
Entanglement prevention is not a deployment skill. It is a pre-deployment ritual. The send itself takes four seconds; the setup that makes it clean takes thirty. Skip it, and you gamble on luck instead of geometry.
- Step 1 — Deploy the SMB from stowage. Unclip it, let it hang vertically below your hand. Confirm the oral-inflate valve or bottom opening faces you.
- Step 2 — Unclip the spool or reel. Hold it in your dominant hand with the line attachment point facing the SMB. Do not clip either item to your BCD or harness—BSAC's post-2024 guidance is explicit: nothing connects the system to your body.
- Step 3 — Trace the line path. Follow the line visually from spool to SMB clip. Nothing should cross between them—no hose, no light cord, no fin blade.
- Step 4 — Set body position. Horizontal trim, slightly head-down if possible. This keeps your valve assembly above and behind the line's travel path.
- Step 5 — Visual sweep. One look over each shoulder. Any bight near your manifold or along your hip means re-routing before you inflate.
Thirty seconds. Divers who skip steps 3 through 5 account for the majority of deployment tangles reported in BSAC's annual incident summaries.
The Clean Send — Step by Step
With the setup complete, execution is mechanical. Speed kills here—rushing the inflation is where slack appears.
- Hold at arm's length, forward and above. The SMB mouth should be at or above your eye line. Your arm acts as a boom crane—keeping distance between the rising buoy and your body.
- One short burst of air. Use your alternate second stage or BCD inflator hose. Insert just enough gas to make the SMB positively buoyant—roughly one-third full at depth. Over-inflation increases ascent speed and wastes gas you may need later.
- Release the SMB upward. Open your fingers. Let it go cleanly. Resist the instinct to watch it rise—your eyes belong on the spool and line path now.
- Thumb on the line. As the spool pays out, keep light thumb pressure controlling feed rate. The line should leave the spool taut, never in coils. If you feel it stacking or looping, pinch briefly to clear.
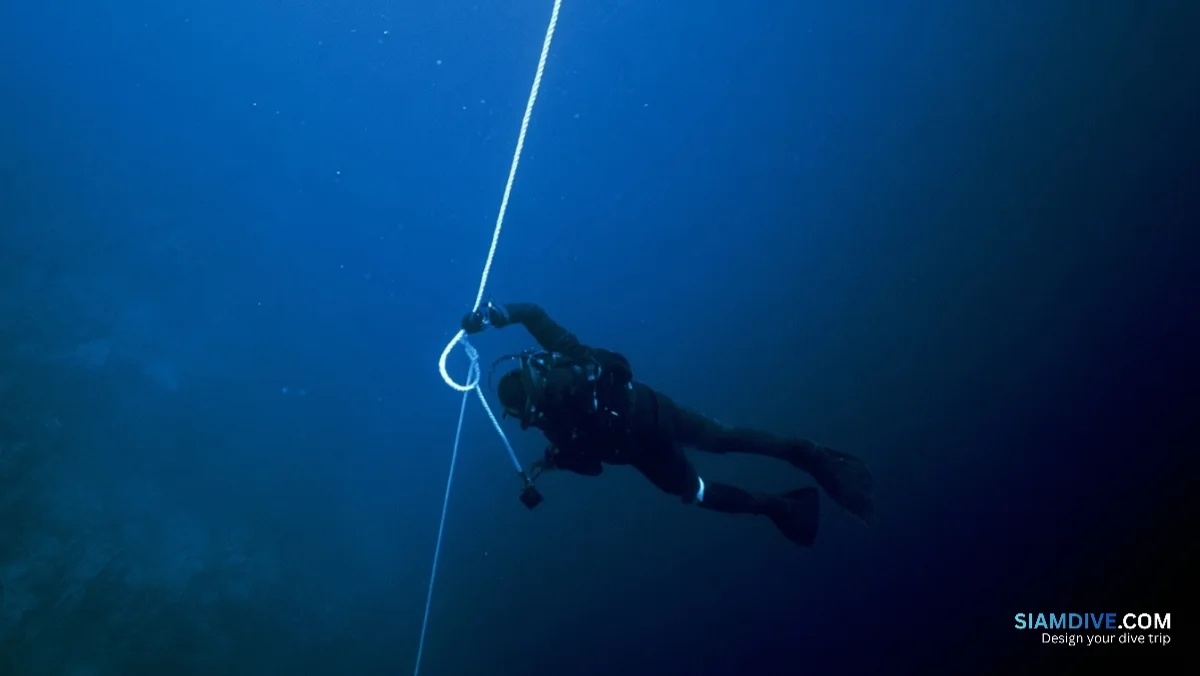
- Ascend below the buoy. Once the SMB breaks the surface, begin your ascent while reeling in slack—or simply maintaining tension if the line length matches your depth. The line should run vertically from spool to surface with zero drape.
A clean send at 15 metres is easier than one at 5. Deploying deeper gives you more time to manage buoyancy changes, more water column for the line to straighten under tension, and less gas expansion drama on the SMB itself. DIVE Magazine's training guidance recommends deploying between 10 and 15 metres rather than waiting for safety stop depth.
| Deploy depth | Entanglement risk |
|---|---|
| 5 m (safety stop) | High — buoyancy shifts large, time to react minimal |
| 10–15 m | Low — gradual expansion, longer line straightens under tension |
| 20–30 m (tech) | Low — but requires longer line and gas management awareness |
Already Tangled — The 4-Move Recovery
The line is around your valve post. Or your fin. Or wrapped once around the reel handle and twice around a D-ring. Adrenaline says swim upward, pull hard, fix it fast. That instinct will hurt you.
- Move 1 — STOP. Do not ascend. Do not pull the line tighter. Arrest all vertical movement. If you are ascending already, dump gas from your BCD to halt.
- Move 2 — Release the spool. If it is in your hand and not clipped to you (it should never be), simply let go. The spool sinks, removing all upward tension from your body. The SMB stays on the surface; you stay at depth. Problem is now geometry, not physics.
- Move 3 — Trace the catch point. With one hand, follow the line from wherever it contacts your body to where it wraps. Most tangles are a single loop around a single item. Identify the protrusion.
- Move 4 — Lift and unwrap. Slide the loop off the protrusion—up and over a valve knob, forward off a clip gate, or down past a fin buckle. Once free, retrieve the spool, reel in slack, and resume your ascent under control.
The entire recovery should take under 15 seconds. If Move 4 fails—if the line has knotted or loaded against a point you cannot reach—move to the cutter.
Practice this sequence in a pool or confined water once per quarter. The muscle memory that matters is not the deployment itself—that part is easy when nothing goes wrong. The memory you need is the pause. Move 1, the full stop, contradicts every survival instinct telling you to go up. It only becomes reflex through repetition in calm conditions.
When to Cut
A line cutter is not a failure. It is the exit plan you paid twelve dollars for.
Decision sequence:
- Can I release the spool/reel? → Yes → do it, problem solved without cutting.
- No (it's jammed or clipped somehow)? → Can I reach the snag point? → Yes → unwrap per Move 4.
- Cannot reach it, or line has loaded under tension? → Cut.
Always cut between yourself and the buoy—specifically between your body and the spool. You lose the SMB and marker capability, but you keep yourself at depth and in control. Never cut between the spool and the SMB while the spool is still attached to a snag on your body—that frees a loaded line to whip.
The MAIB safety bulletin of June 2024, issued after the fatal Scapa Flow incident in which a diver was suspended from a DSMB clipped to his BCD at 3 metres and struck by a propeller, reinforced one principle above all: the line must be releasable at any moment. A line cutter accessible with either hand—not buried in a pocket behind a zipped flap—fulfils that principle when all else fails.
Gear Check: What to Inspect Every 10 Dives
- Line condition — Run the full length through your fingers. Fraying, stiffness, or kinks mean replacement. A nicked line under 8 kg of lift will part at the worst moment.
- Spool/reel mechanism — Spin it dry. A reel ratchet that stutters or a spool drum that wobbles on its axis is pre-jammed. Rinse, dry, lubricate per manufacturer spec.
- SMB oral-inflate valve — Blow it up on land, hold inverted. If it deflates in under 30 seconds, the dump valve or OPV seal is failing. A half-inflated SMB at the surface may not be seen by the boat, and a partially buoyant DSMB on ascent creates unpredictable tension.
- Bolt snap or double-ender — The clip connecting line to SMB must open and close freely. Corrosion or grit in the gate means the SMB may not detach when you need it to.
Annual incident data from the UK consistently lists equipment maintenance failures as a contributing factor in deployment-related incidents. A DSMB that worked fine last season does not guarantee performance after six months in a gear bag.
Related: Why DIN Divers Won't Switch Back | 5 Habits That Backfire in Rescue Training | Max Depth Is the Least Useful Number in Your Logbook