PADI Open Water Course: What It Involves Day by Day
9 เมษายน 2569
A day-by-day breakdown of the PADI Open Water course — theory, pool sessions, open water dives, required skills, and what to expect at each stage.
Demystifying the Course
The PADI Open Water Diver course is the most popular scuba certification in the world, and somehow it remains one of the most misunderstood. People show up expecting boot camp and find a structured but surprisingly approachable program. Others assume it's a casual afternoon activity and get a reality check on day one.
Here's what actually happens, day by day, skill by skill. No glossing over the hard parts. No pretending that everyone breezes through mask clearing without a moment of panic. This is the course as it really is — what you'll learn, what you'll struggle with, and what it feels like to earn that card.
The standard course runs 3 days, with a 4-day option at many schools. Both versions cover identical material and lead to the same certification. The difference is pacing: 3 days means longer, more intensive days, while 4 days gives you breathing room (literally and figuratively). For most first-time students, the 4-day version produces better outcomes and less stress.
Before You Start — Prerequisites and Prep
You don't need any prior diving experience. You don't need to be an athlete. You do need to meet a few basic requirements that PADI sets for all Open Water students worldwide.
The swimming test comes first: 200 meters of continuous swimming using any stroke, with no time limit and no aids. Then 10 minutes of treading water or floating. These happen on the first day and are pass/fail. If you're a comfortable swimmer, they're straightforward. If you haven't swum laps in years, practice beforehand. Failing the swim test before the course even starts is a deflating way to begin a vacation.
Minimum age is 10 for the Junior Open Water Diver certification (with restrictions until age 15) and 15 for the unrestricted Open Water Diver. There's no maximum age — some of the most dedicated divers in Thailand are in their 60s and 70s.
Medical clearance works differently depending on the country. In Thailand, there's no mandatory physician sign-off. You'll fill out a medical self-assessment questionnaire. If you answer "yes" to any condition — asthma, heart problems, epilepsy, diabetes, ear or sinus issues — you'll need a doctor's letter before proceeding. Take this seriously. Diving with an undisclosed medical condition puts everyone at risk.
Then there's the theory component. PADI offers eLearning that you should complete before arriving at the dive center. It covers about 8 hours of material: five chapters of reading, videos, knowledge reviews, and a final exam of 50 questions (you need 75% to pass). Topics include dive physics, physiology, equipment, dive planning, and emergency procedures. Do this at home. Seriously. Students who arrive having completed eLearning learn water skills faster and enjoy the in-person days significantly more than those trying to absorb theory and practice simultaneously.
Day One — Theory and Pool Sessions
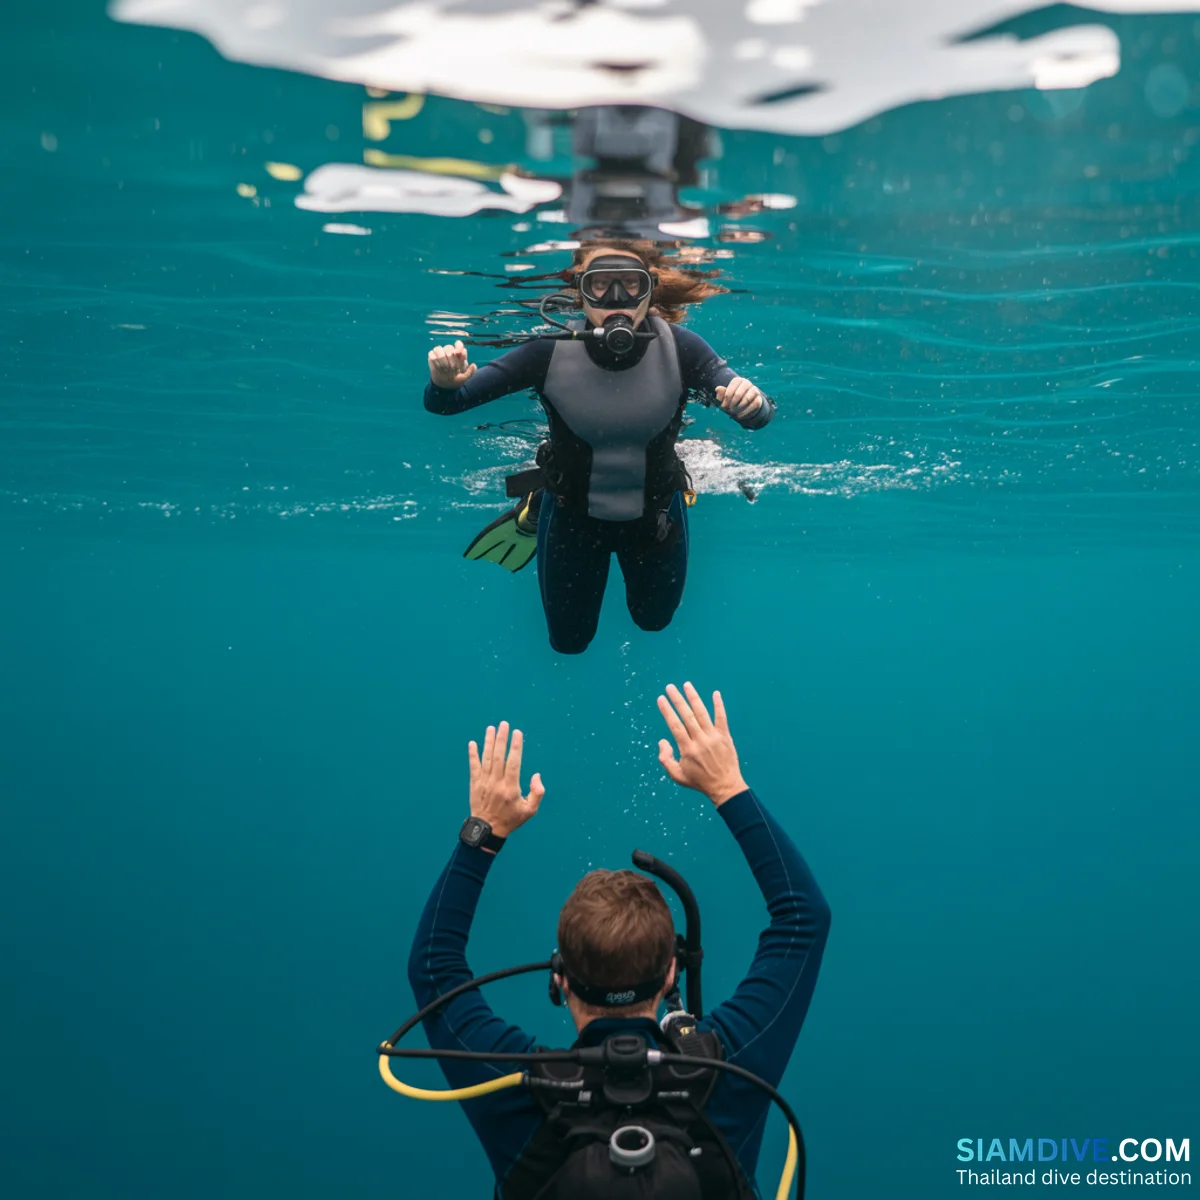
If you've done the eLearning, day one starts with a brief review and the final knowledge exam (if not already completed online). Your instructor clears up any confusion from the self-study material and makes sure everyone understands the fundamentals: how pressure affects your body underwater, why you never hold your breath, how to read dive tables or use a dive computer, and basic hand signals.
Then you move to confined water — either a swimming pool or a calm, shallow area of the ocean that functions like one. This is where you meet your equipment for the first time: BCD (buoyancy control device), regulator, tank, weights, mask, and fins. Your instructor demonstrates how to assemble everything, check air supply, and conduct a pre-dive safety check with a buddy.
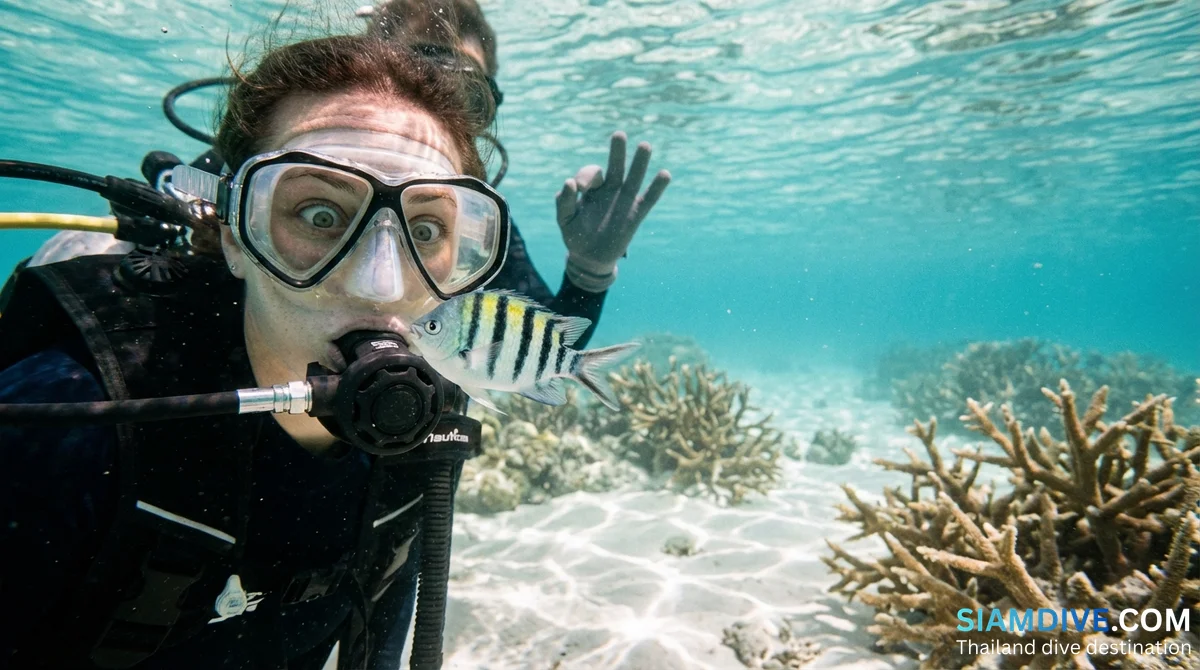
The first time you breathe underwater through a regulator, it feels strange. Not bad, necessarily, but foreign. Your brain knows it's safe; your instincts aren't fully convinced. This is normal. Most students settle into comfortable breathing within 5-10 minutes. A few take longer. The instructor's job is to give you whatever time you need.
Confined water skills on day one typically include: regulator recovery (finding your mouthpiece if it falls out), regulator clearing (removing water from the mouthpiece), mask clearing (a partial and full flood, then clearing the water out while wearing it), and basic buoyancy control. You'll also practice hand signals, controlled descents and ascents, and underwater communication with your buddy.
Mask clearing is the skill that causes the most anxiety. Water enters your mask, covers your nose, and you need to exhale through your nose to push it out — all while continuing to breathe through your regulator. The sensation of water around your nose triggers a mild panic response in many people. This is expected. Your instructor has seen it hundreds of times. You'll practice until it becomes manageable, not necessarily comfortable on day one, but manageable.
Day one usually runs 6-8 hours. You'll be mentally exhausted by the end, more than physically tired. Your brain has been processing entirely new sensory experiences while simultaneously overriding survival instincts. That's tiring. Eat well, sleep early.
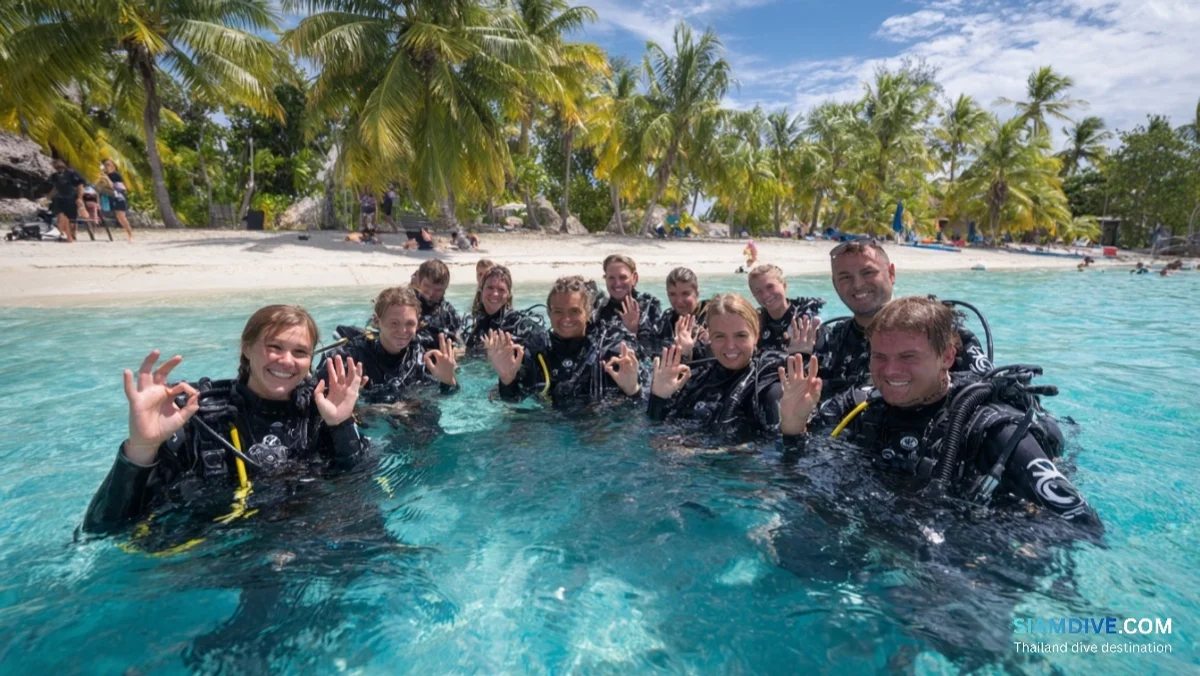
Days Two and Three — Open Water Dives
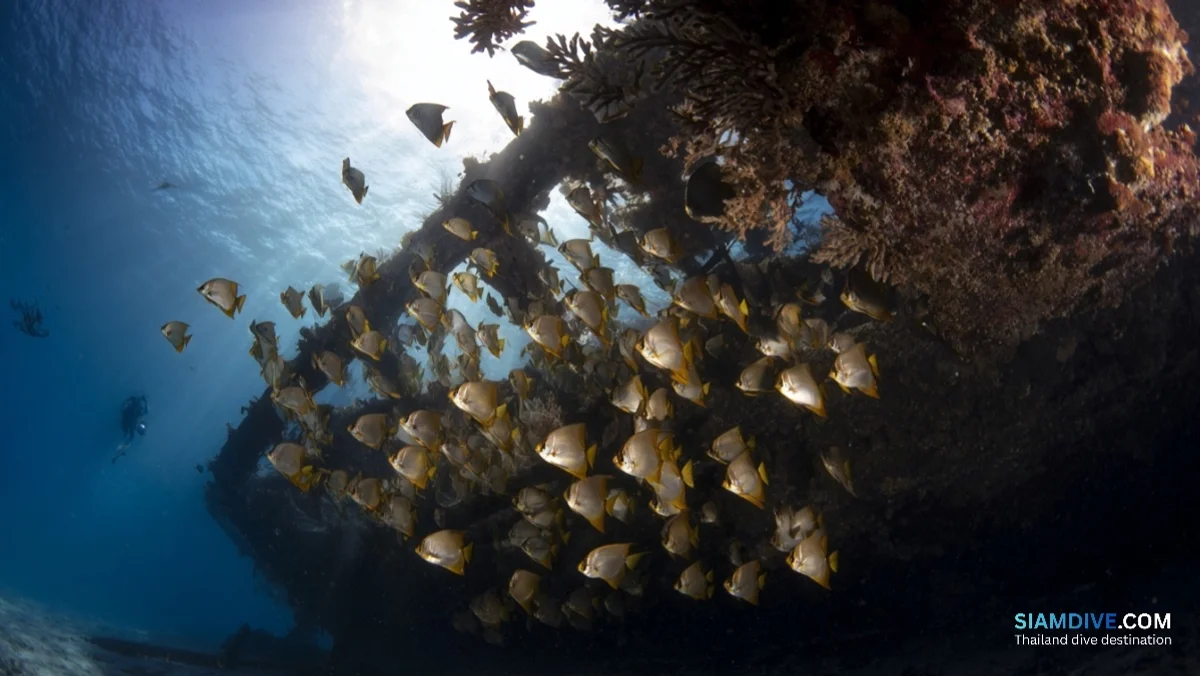
This is where the course shifts from controlled practice to real diving. You'll complete four open water dives over these two days, each lasting 30-50 minutes depending on air consumption and conditions. Maximum depth increases progressively: the first dive might be 8-10 meters, while the fourth typically reaches the Open Water maximum of 18 meters.
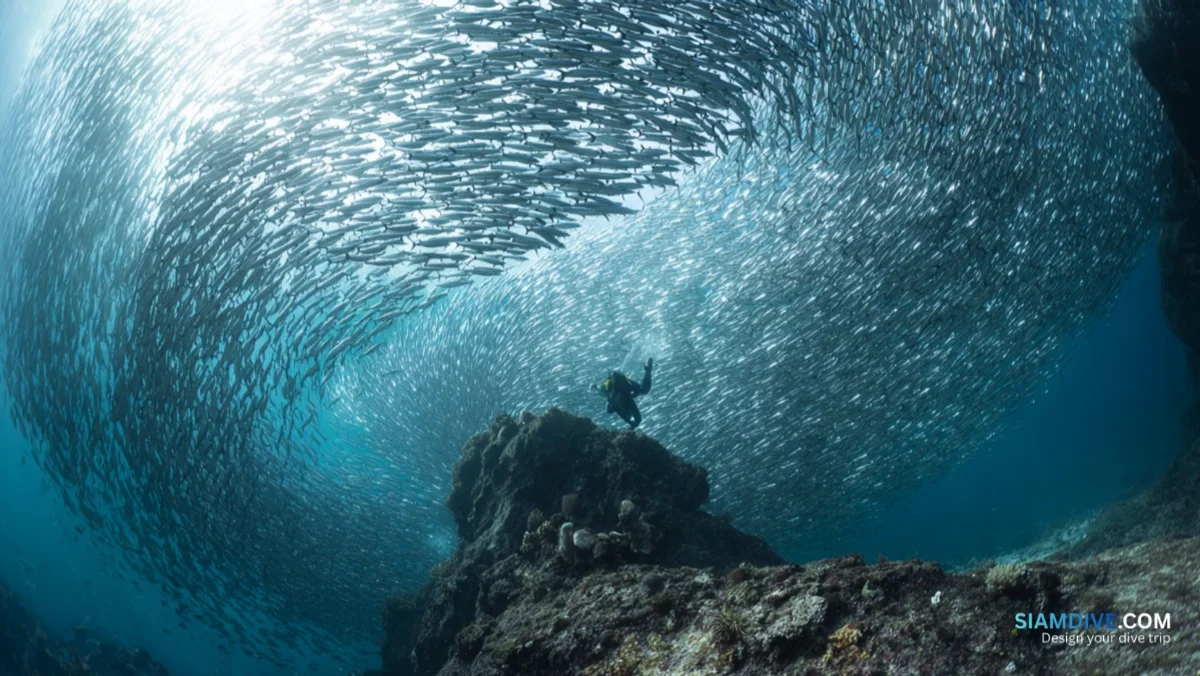
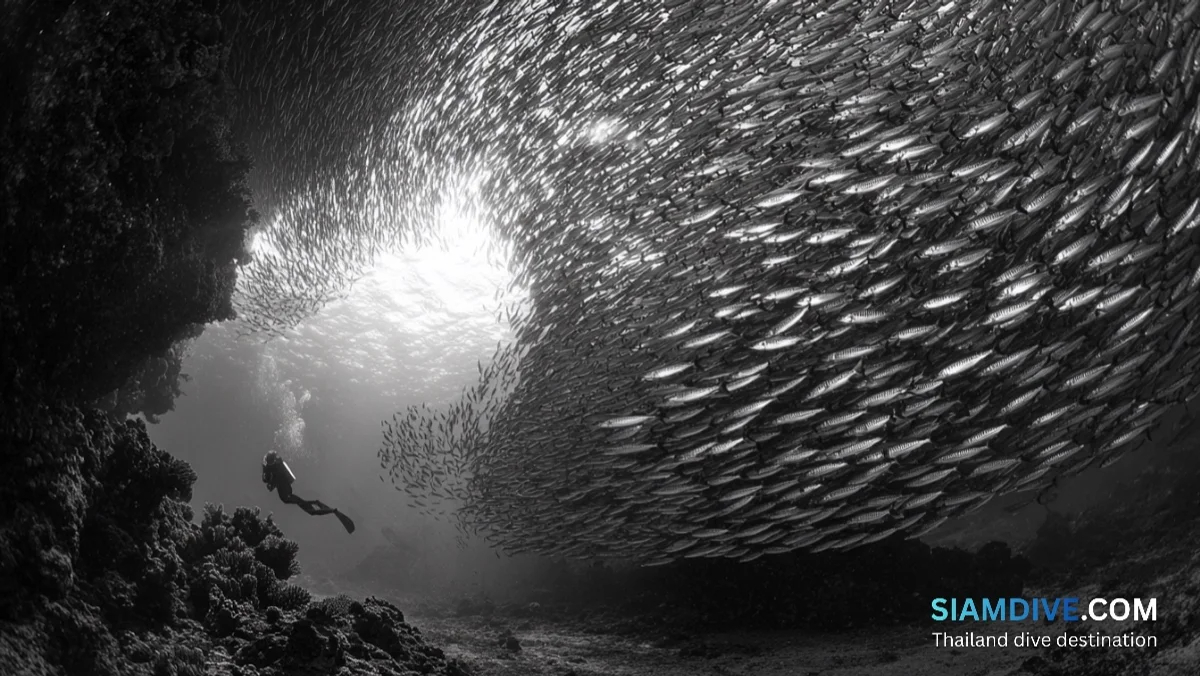
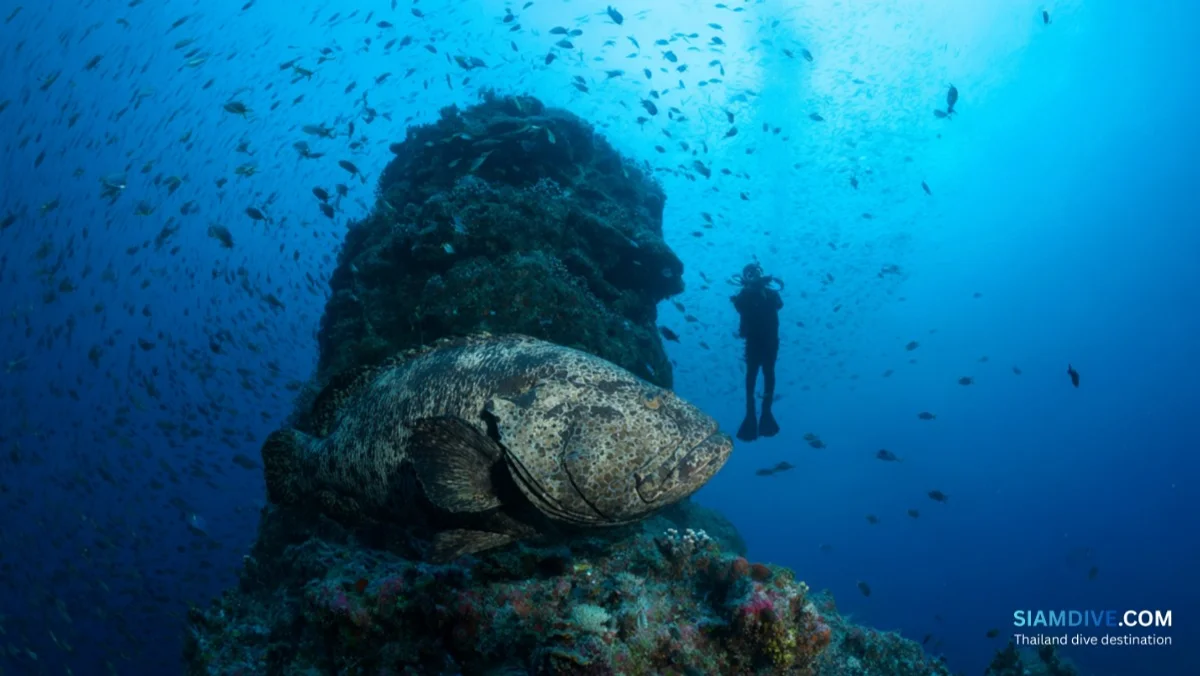
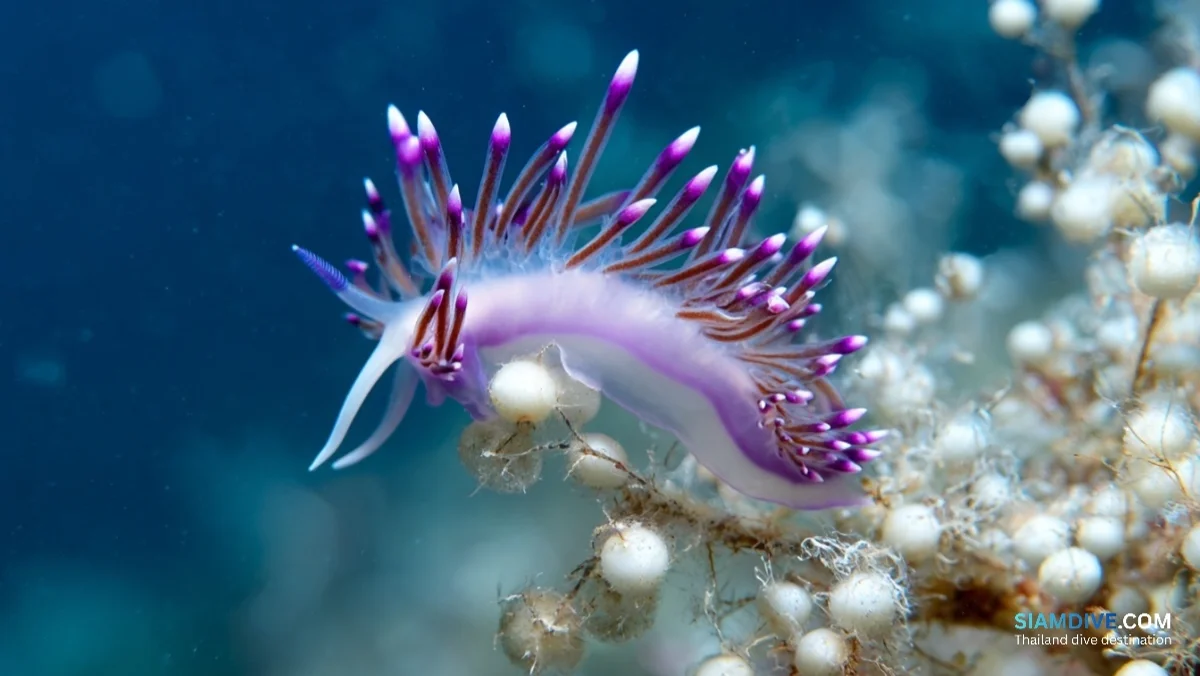
On Koh Tao, training dives happen at established sites with sandy bottoms, gentle slopes, and minimal current — places like Japanese Gardens, Mango Bay, or Twins. The water temperature sits at 28-30°C, which means a thin wetsuit or rashguard is enough. Visibility varies by season but often reaches 10-20 meters, giving you a clear view of the reef life even during training.
Each dive has a structured skill component. Your instructor will ask you to demonstrate specific skills at depth — the same ones you practiced in confined water, plus additional ones like underwater navigation using a compass, controlled emergency swimming ascent (CESA), and shared air breathing with a buddy (alternate air source use). Between skill demonstrations, you get to actually dive: swim along the reef, observe marine life, and practice your buoyancy.
The boat ride to dive sites takes 10-30 minutes depending on location. Entry methods vary — giant stride from the boat platform, backward roll from a smaller boat, or shore entry at some sites. Your instructor demonstrates each method before you do it. The first open water entry is a rush of adrenaline that most students remember years later.
Dive 1 focuses on basic skill review in open water conditions. Dive 2 introduces navigation and deeper water. Dive 3 adds emergency procedures and builds on skills from earlier dives. Dive 4 is the most comprehensive, combining everything you've learned and typically the deepest. After completing all four dives and demonstrating all required skills, your instructor signs you off.
Between dives, you have a surface interval of at least one hour. This lets dissolved nitrogen leave your tissues safely and gives you time to debrief with your instructor. Good instructors use this time to address specific issues — if your buoyancy was off, they'll explain adjustments; if your air consumption was high, they'll suggest breathing techniques.
Skills You'll Need to Demonstrate
PADI requires demonstration of about 24 specific skills across confined and open water sessions. Here are the key ones and what they actually involve:
Buoyancy control: Hovering motionless at a fixed depth without sinking or rising. This is the single most important skill in diving and the one that takes the longest to develop. During the course, you need to demonstrate a controlled hover for at least one minute. In reality, good buoyancy takes 20-50 dives to develop properly, so don't expect perfection.
Mask removal and replacement: Taking your mask completely off underwater, keeping your eyes open (or closed, your choice), replacing it, and clearing the water. More psychologically challenging than physically difficult. The water hits your nose and forehead simultaneously, which triggers a startle response.
Controlled Emergency Swimming Ascent (CESA): Simulating an out-of-air scenario by swimming to the surface from 6-9 meters while continuously exhaling. This teaches you the most critical rule in diving: never hold your breath during ascent, because expanding air in your lungs can cause a lung overexpansion injury.
Alternate air source use: Breathing from your buddy's backup regulator (octopus) while ascending together. This simulates a real out-of-air emergency where your buddy shares their air supply. You practice both roles — the donor and the receiver.
Underwater navigation: Swimming a reciprocal course using a compass and returning to your starting point. Also includes natural navigation using reef features, sand patterns, and light direction.
Weight and BCD management: Proper weighting so you're neutrally buoyant at 5 meters with an empty BCD and half a tank of air. Also includes removing and replacing your weight belt or integrated weights at the surface and underwater.
Cramp removal: Releasing a leg cramp while underwater or at the surface using the fin-pull technique.
Emergency weight drop: Quick-releasing your weights in an emergency to gain positive buoyancy.
You don't need to perform these perfectly. You need to perform them competently — meaning safely, without panicking, and with awareness of your surroundings. Your instructor evaluates each skill and provides feedback. If you struggle with one, you repeat it until you're comfortable.
Common Struggles and How to Handle Them
Almost every student hits at least one rough patch during the course. Knowing what to expect makes them easier to navigate.
Ear equalization: This is the number one physical problem. As you descend, water pressure increases and pushes on your eardrums. You need to equalize by pinching your nose and gently blowing — the same motion as clearing your ears on an airplane, but you need to do it every meter or so. Some people equalize effortlessly. Others struggle because of sinus congestion, technique issues, or anxiety that creates tension. The fix: descend slowly, equalize early and often, and never push through pain. If one ear won't equalize, ascend a meter and try again.
Mask clearing anxiety: Water in your mask triggers a nose-breathing reflex that conflicts with regulator breathing. The key is to separate the two functions mentally: breathe only through your mouth via the regulator, and use your nose only for exhaling to clear the mask. Practice in the shower at home — let water run over your face while breathing through your mouth. It helps more than you'd expect.
Buoyancy control: New divers either sink like stones or bob to the surface. The problem is usually breathing-related — holding your breath (which makes you float up) or breathing shallowly (which doesn't provide enough lift). Normal, relaxed breathing is your primary buoyancy tool. Deep breath in, you rise slightly. Full exhale, you sink slightly. The BCD and weights handle the baseline; your lungs fine-tune it.
Air consumption: Beginners burn through air 2-3 times faster than experienced divers because of anxiety, inefficient breathing, and excessive movement. Your first dive might last only 30 minutes before hitting the 50-bar safety threshold. By dive four, most students see meaningful improvement. The fix: slow down everything. Move less. Breathe deeper and slower. Stop finning and just float when you can.
Equipment overwhelm: First-time divers often feel clumsy and overloaded with gear. The BCD feels bulky, the tank is heavy on land, the mask fogs, the fins feel awkward. This gets better fast. By dive two, equipment handling becomes semi-automatic. By dive four, you barely think about it.
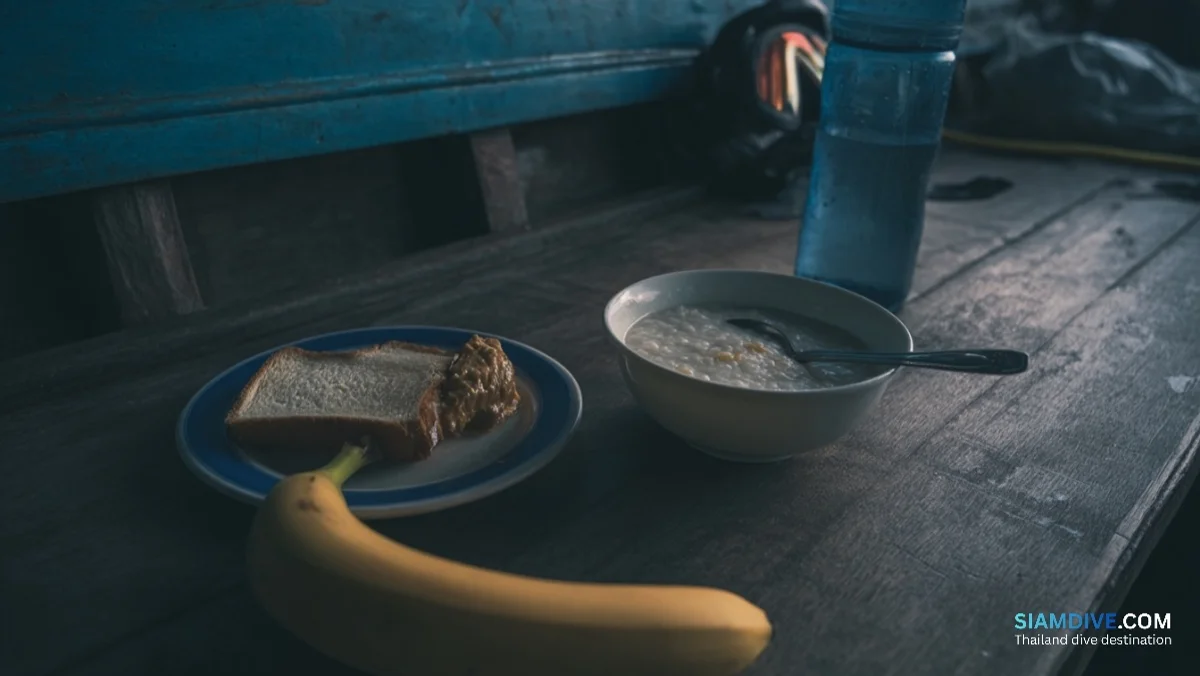
Cold or fatigue: Even in 28-30°C water, extended immersion can cause cooling. Eat energy-dense food between dives, stay hydrated, and don't skip the thin wetsuit thinking the water is warm enough without it. Physical fatigue is cumulative over the course days — budget your energy and don't plan exhausting activities on dive evenings.
After Certification — What Comes Next
Once your instructor signs off on your final dive, you're a certified Open Water Diver. The process to receive your physical card (or digital card via the PADI app) takes a few days to a couple of weeks. In the meantime, your instructor gives you a temporary certification that's accepted at dive centers worldwide.
Your certification allows you to dive with a buddy to 18 meters anywhere in the world. No instructor required, no supervision — just you, your buddy, your training, and the ocean. That said, most newly certified divers continue diving with guides for the first 10-20 dives, and that's smart. The course teaches you to be safe; experience teaches you to be comfortable.
The natural next step is the Advanced Open Water Diver course, which takes 2-3 additional days and five more dives. It extends your depth limit to 30 meters and introduces specialties like deep diving, underwater photography, night diving, peak performance buoyancy, and drift diving. Many divers complete this within the same trip, especially if they're already at a training location like Koh Tao.
Beyond Advanced, the path continues: Rescue Diver (3-4 days, focused on self-rescue and assisting others), Emergency First Response (CPR and first aid), and eventually Divemaster or Instructor if you want to go professional.
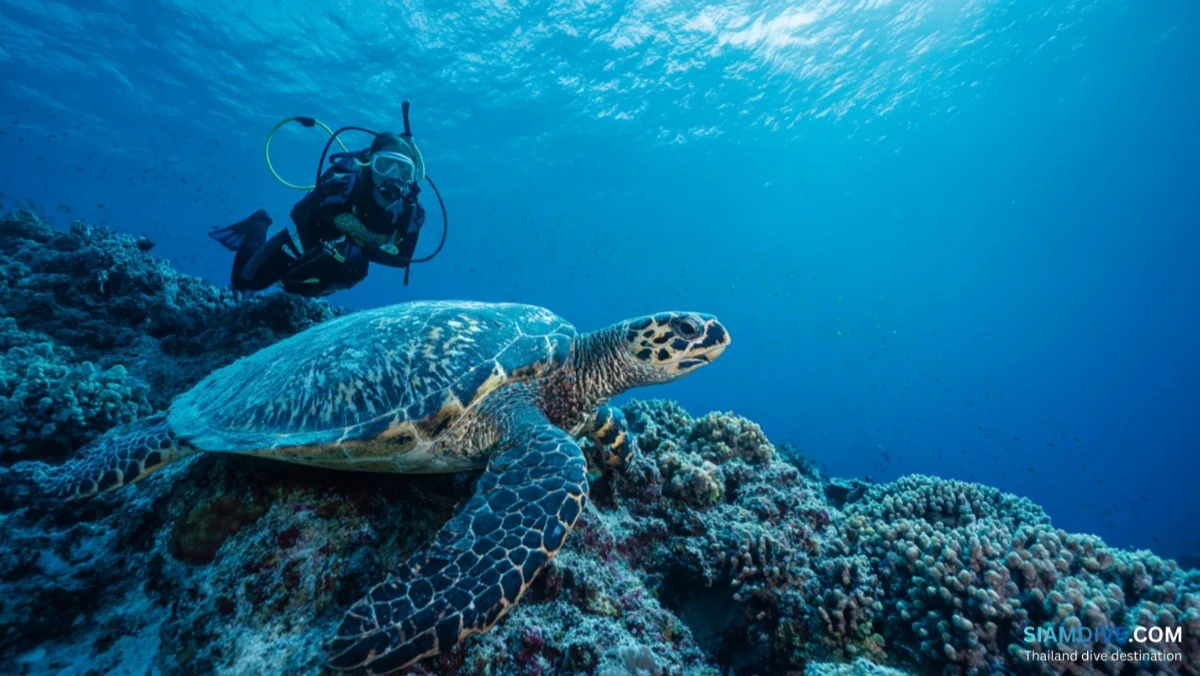
For your first year of diving, focus on logging dives and building comfort. Try different environments — reefs, walls, wrecks, current dives, night dives. Each new condition teaches you something. Aim for at least 10-20 dives in your first year to solidify the skills you learned in the course.
The certifications you earn and the diving you do in year one set the foundation for everything that follows. Take it seriously, but don't turn it into a checklist. The whole point is to enjoy what's down there.
Final Thoughts
The PADI Open Water course is three to four days of structured learning that takes you from zero to certified. It's not difficult in the traditional sense — you don't need to be strong, fast, or particularly brave. It is challenging in the sense that you're learning to function in an alien environment while trusting equipment to keep you alive.
The students who get the most out of the course are the ones who complete the eLearning before arriving, ask questions when confused, communicate honestly about their comfort level, and accept that some skills take repetition. The students who struggle most are those who rush, who hide anxiety instead of naming it, or who skip the fundamentals to get to the "fun" dives faster.
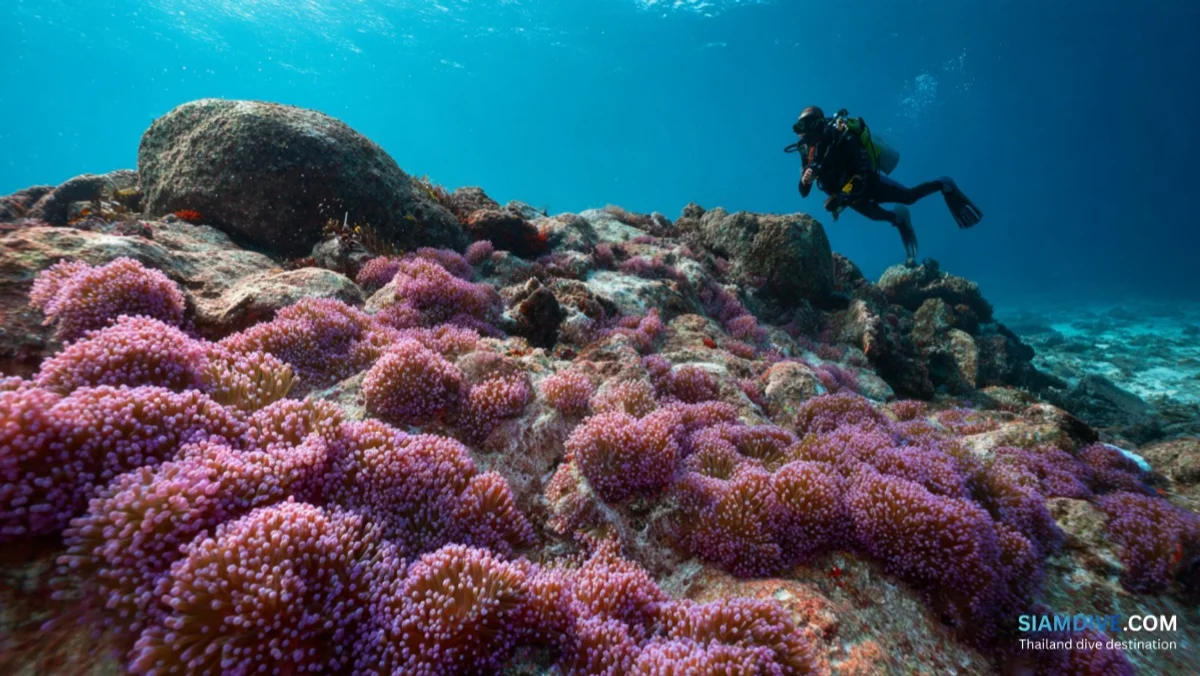
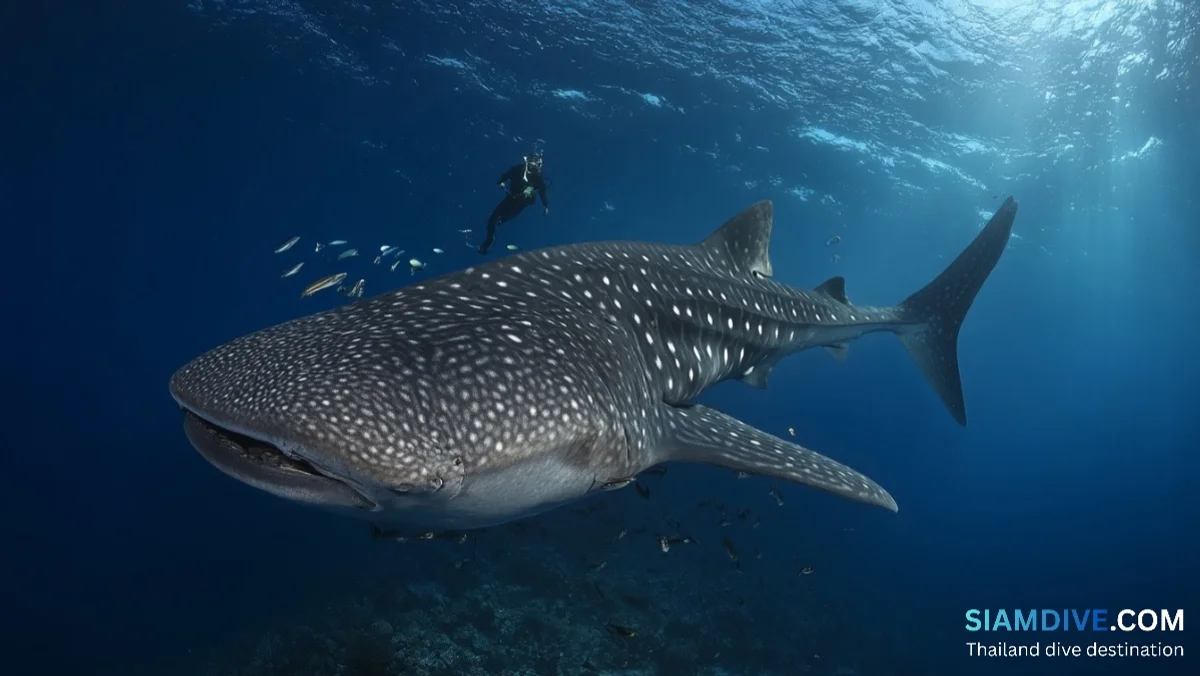
If you're considering doing the course in Thailand, you're choosing one of the best training environments on the planet. Warm water, experienced instructors, affordable pricing, and marine life that makes even training dives feel like genuine adventures. Koh Tao remains the gold standard, with courses running 9,000-11,000 THB ($250-300 USD) including all equipment — significantly less than you'd pay in most Western countries for the same certification.
For detailed course comparisons, verified dive center reviews, and current pricing across Thailand's top diving destinations, visit siamdive.com. The information is straightforward, the listings are curated, and there's no sales pressure — just what you need to choose the right program and start your diving life on solid ground.